How to Make Easy Concrete Planters for Your Garden

- Working Time: 1 hour
- Total Time: 1 day
- Skill Level: Beginner
- Estimated Cost: $4 to $10
- Yield: Small concrete planters
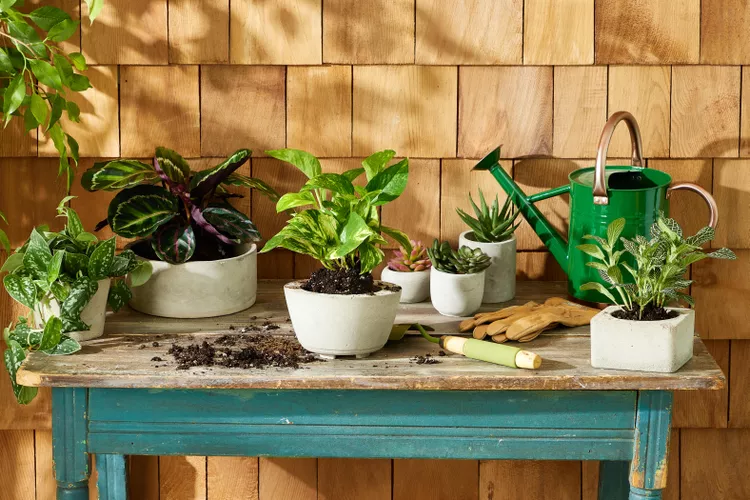
DIY concrete planters are an easy way to create elegant, customized garden decor that doesn't cost a fortune. Concrete is durable, inexpensive, and can be shaped into almost anything you can imagine. Once your concrete container is finished, the foliage and bright blooms of your plants will contrast beautifully with the textured gray container. Start your own by following these step-by-step instructions.
What You'll Need
Equipment / Tools
- Gloves
- Safety glasses
- Outer mold
- Inner mold
- Paint brush
- Trowel or scoop
- Medium-size rock or sand
- File or rasp
Materials
- Prepared concrete
- Cooking oil
Instructions
-
Oil the Outer Mold
To make a concrete planter, start with your larger mold. Apply a generous layer of cooking oil all over the inside of the mold with a paintbrush. This will help make it easier to unmold your planter once the concrete dries.
-
Oil the Inner Container
Coat the outer sides and bottom of your smaller mold with cooking oil.
-
Add Concrete to Outer Mold
Pour or scoop prepared concrete into the outer mold, stopping about two inches from the top. Jiggle and firmly tap the mold onto a hard surface to help eliminate larger air bubbles and level the surface.
Safety glasses and gloves are recommended when working with wet concrete.
-
Press the Inner Mold Into the Concrete
Push the inner mold down into the center of the concrete. Make sure to set the inner mold down far enough to create adequate depth for plants' roots, but also leave about an inch thickness for the bottom of the planter.
-
Add Weight to the Mold
Place a heavy rock or sand into the smaller mold to weigh it down a little, then let the concrete set for at least 24 to 48 hours.
-
Remove the Molds and Smooth the Concrete
Tip over the molds and slide out your new concrete planter. Use a rasp or file made for masonry work to smooth out any rough edges.
Get Creative with Concrete Containers
DIY concrete planters are very adaptable in terms of shape and size, and you can have a lot of fun experimenting with what works best with your garden style. For example, use a fluted form to fit with cottage-inspired garden furniture, or go with straight lines and geometric shapes for a more modern look.
Start with a smaller size mold to practice making items out of concrete. For example, use an empty yogurt container as a mold to make a small pot for a succulent plant. A small piece like this is also a good opportunity to try out techniques such as embedding embellishments in the rim before the concrete dries, or painting the finished piece.
Once you've mastered making concrete planters, try your hand at creating other garden accessories out of concrete such as stepping stones and bird baths.
Tips for Using Your DIY Concrete Planter
- Drill drainage holes into your planters after the concrete has set, or place a cork or piece of foam in the bottom when forming the pots to leave a hole.
- Use your concrete containers as you would any other garden planter, making sure to choose the right size plants for the available growing space.
- When you water concrete planters, they will darken, then lighten as they dry.
- After planting, add a layer of small stones on top of the potting soil as mulch that will coordinate well with the concrete.