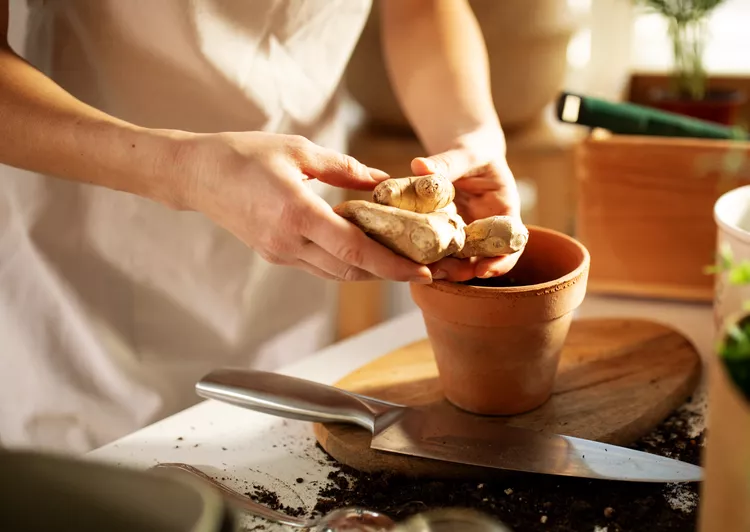
How to Grow Ginger Root Indoors in 4 Simple Steps

Ginger, an aromatic perennial herb from tropical Asia, may seem exotic, but it’s a snap to start your own plant. All you need is a plump piece of the “ginger root” which, in fact, is a rhizome—a thickened stem that grows on or just below the surface of the soil. It makes a great houseplant and can also be grown outdoors in the summer either in a container or in the ground. Best of all, it will yield an abundance of its warm aromatic flavor for your favorite ginger-infused recipes. Get started by following the easy steps below.
Steps for Growing a Ginger Root
1. Select a Rhizome
Look for plump rhizomes (ginger roots) that have little swollen knobs along their length. The knobs or “eyes” are the nodes from which new growth will emerge. You may see a bit of swelling or greening on some of the eyes—a sign that they will easily sprout into a new plant. Avoid any roots that are shriveled or look dry.
You can find fresh ginger roots at most grocery stores, but these are sometimes treated with a growth inhibitor to prevent sprouting. Because sprouting is the goal, you’re better off purchasing rhizomes from an organic market, farmer’s market, or a ginger supplier where the rhizomes are untreated. If you do start with one from the grocery, you should soak it overnight in water to remove or at least dilute the inhibitor. It will probably grow, but it might take a little longer.
2. Prepare the Rhizome
Cut your purchased ginger root into sections 1 to 2 inches long, making sure that each section has at least two eyes. Set them out, exposed to the air for 24 to 48 hours; this helps the cut surface to callus over a bit before planting.
3. Select a Pot and Prepare the Soil
Choose a container with a drainage hole that is big enough to accommodate one or more rhizome sections and is at least 12 inches deep. Fill the pot with moist potting soil. Leave a few inches of space at the top so you can add additional soil after setting in the rhizomes. Mix in some slow-release fertilizer if your potting mix doesn't include any.
4. Plant the Rhizomes
Set your rhizomes on the surface of the potting soil with the largest eyes facing up. Settle them into the soil and cover with an inch or so of potting soil. Firm the soil and water well. Keep the soil moist but not soggy. New stems should emerge in a few weeks.
If you’re growing ginger in the ground as an annual, choose a partly shaded location and add some compost to the soil. Space rhizome pieces at least 8 inches apart. Don’t plant outdoors until temperatures are consistently above 60°F.
Harvesting Ginger Root
After the ginger has been growing for a few months, use your fingers to locate a decent-sized rhizome and break it off from the below-ground part of the plant. That way the plant will continue to grow and produce more rhizomes.
When leaves begin to die back in the fall, usually 9 or 10 months after you planted your rhizome, it’s time for your big harvest. (Be sure to harvest before your area's first frost in fall.) Harvesting your ginger is an easy process; just follow the steps below.
- Trim the dying/dead leaves close to the soil line.
- Knock the entire plant out of its container. If your ginger was growing in the ground, dig up the entire plant.
- Gently remove as much soil as possible with your hands.
- Wash the rhizomes thoroughly under running water to clean the rhizomes, then cut them into manageable sections.
- The rhizomes can be used immediately or stored for later use. Your ginger roots can also be frozen.
- To keep your supply of fresh ginger going, plant one or two of the rhizomes you just harvested in a container as described above. If you live where winters bring freezing weather, you will have to grow it indoors until the following spring.